





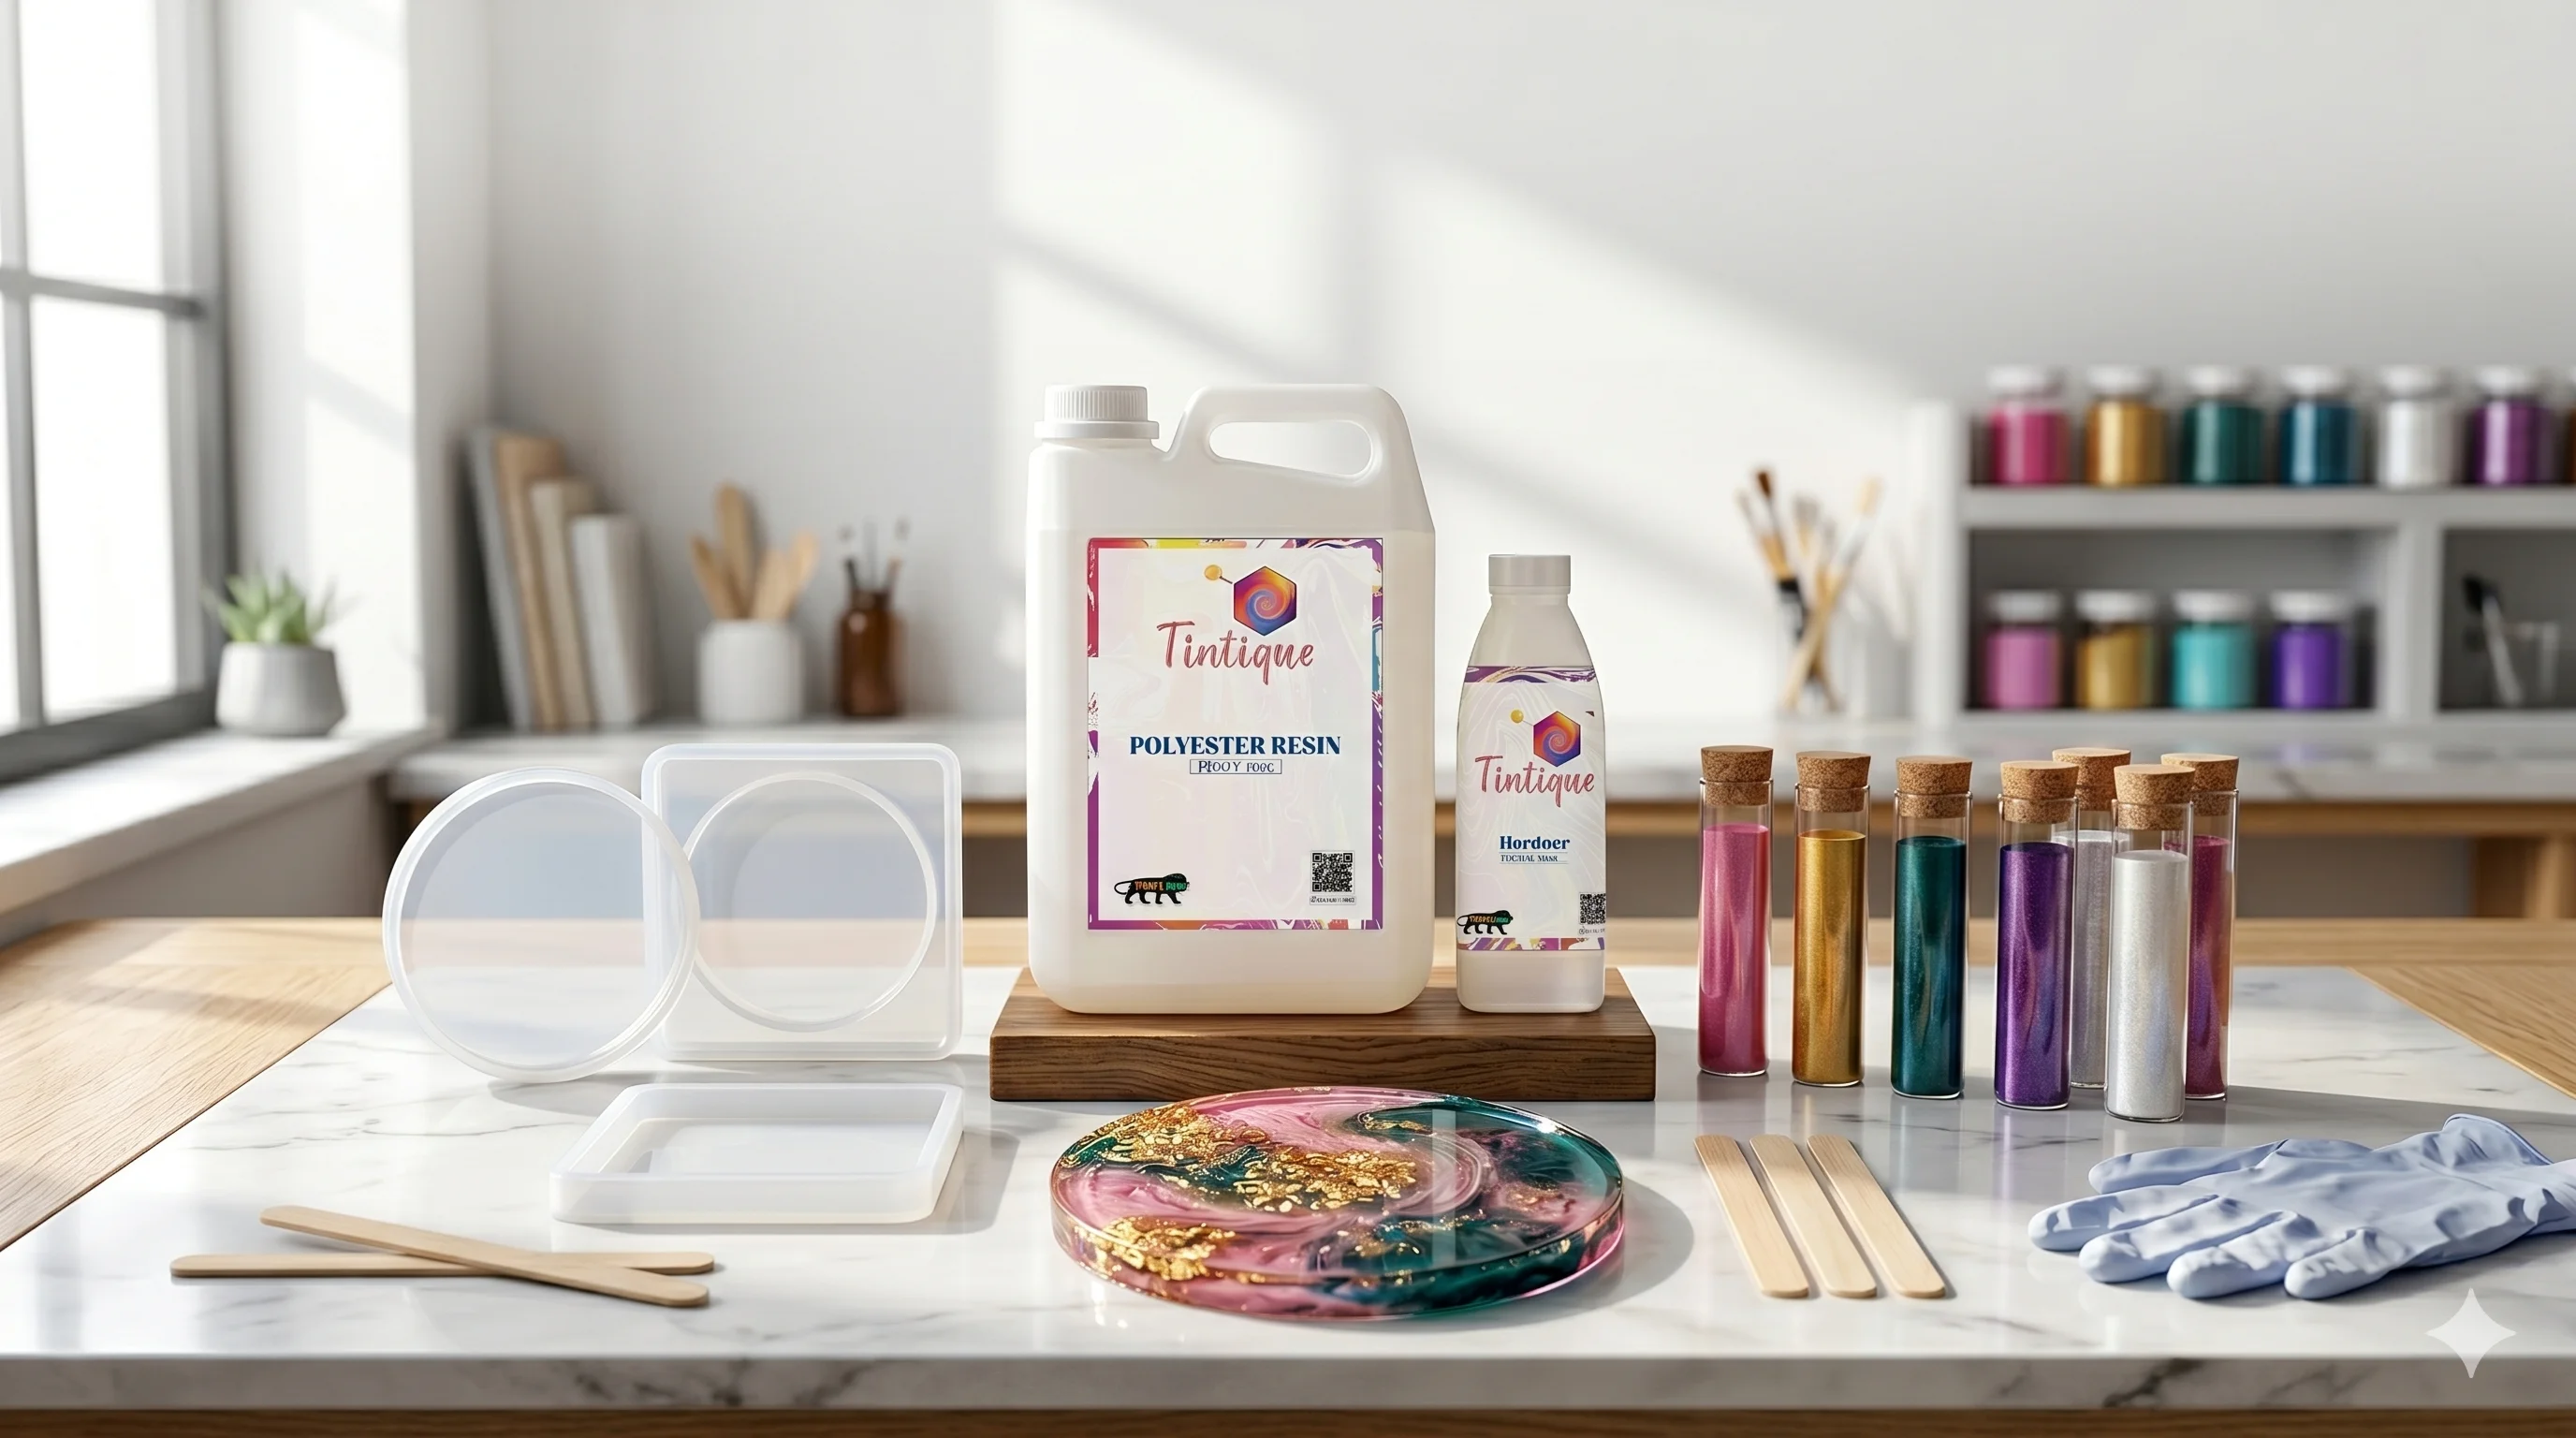
Introduction
Have you ever looked at those flawlessly glossy resin coasters, crystal-clear jewelry pieces, or mesmerizing geode tabletops and thought, "I wish I could make that"?
Well, you can! Resin art might look like a complex craft reserved only for professionals, but the Tintique DIY Resin Art Kit changes the game entirely. Designed as an all-in-one solution for hobbyists, beginners, and seasoned artists alike, this kit provides everything you need to transform a blank mold into a stunning, glass-like masterpiece.
If you just unboxed your Tintique kit, here is your complete step-by-step guide to achieving flawless, professional results on your very first try.
Why the Tintique Kit is Perfect for Beginners
Not all resins are created equal. Some require heavy-duty ventilation masks and complex math to mix. Tintique simplifies the process with a formula designed specifically for home crafting:
* Crystal-Clear, Glossy Finish: It cures to a brilliant, high-gloss shine that mimics real glass.
* Optimized for Responsible Handling : Designed for home use with proper safety precautions.
* Long-Lasting Durability: Once cured, your art is rock-hard, scratch-resistant, and built to last.
* Multi-Surface Versatility: Whether you're pouring into silicone molds or coating a wooden tabletop, it adheres beautifully.
Unboxing Your Tintique Kit: What’s Inside?
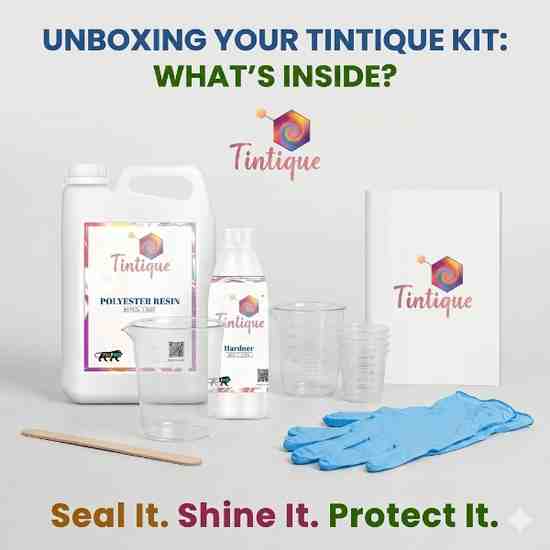
Before you start pouring, make sure you have all your tools laid out. Your Tintique all-in-one solution includes:
* Premium Liquid Resin & Hardener
* Beaker
* Cup
* Stirring Rod
* Safety Gloves
* Step-by-Step Visuals & Tips Guide
Step-by-Step Guide to Your First Resin Project
Whether you are making keychains, coasters, or decorative items, the basic technique remains the same. Grab your gloves, and let’s get started!
1. Set Up Your Creative Zone
Resin is self-leveling, meaning it will flow like water until it cures. Find a flat, level table to work on. Cover your workspace with a plastic sheet or a silicone mat to catch any accidental drips. Ensure your molds or surfaces are completely free of dust and moisture.
2. Measure with Precision
Mix your Tintique Resin and Hardener exactly according to the ratio stated in your kit's visual guide. Use the provided measuring cups to ensure absolute accuracy.
Pro-Tip: If your measurements are off, the resin might remain sticky or bendy instead of hardening properly!
3. Mix Thoroughly (Don't Rush!)
Using a provided stir stick, blend the resin and hardener together slowly and steadily.
Stir for a full 3 minutes.
Make sure to scrape the sides and the bottom of the cup as you mix.
Stirring too fast introduces excessive air bubbles, so keep your movements smooth.
4. Personalize and Pour
Now it's time to unleash your creativity! You can mix in glitter, dried flowers, or resin pigments. Once your mix is ready, gently pour it into your jewelry or coaster molds. Thanks to its excellent multi-surface compatibility, you can also pour it over wood or canvas for a glossy protective shield.
5. Pop the Bubbles
After pouring, you might notice tiny micro-bubbles rising to the top. Don't panic! You can easily pop them by gently passing a heat gun over the surface or spritzing a fine mist of rubbing alcohol over the top.
6. Cover and Cure
Place a clean cardboard box or plastic container upside down over your project to act as a dust shield. Let your artwork sit undisturbed. While it will begin to set within a few hours, allow a full 24 to 48 hours for it to fully cure into a durable, crystal-clear finish before demolding.
Quick Tips for Flawless Results
Watch the Temperature: Resin loves a warm room! Work in a space that is around 70°F - 75°F (20°C– 30°C). If it's too cold, the resin will cure incredibly slowly.
Keep it Clean: Uncured resin can be cleaned up easily with rubbing alcohol or baby wipes. Once it hardens, it can only be removed by sanding.
Endless Possibilities: Don't limit yourself! Use your Tintique kit to create unique DIY gifts, customized home decor, personalized keychains, or upscale tabletop finishes.
Conclusion
The Tintique DIY Resin Art Kit removes the intimidation factor from resin crafting, leaving you with pure, creative fun. By following the included step-by-step visuals and keeping your measurements precise, you'll be creating gorgeous, glass-like items in no time.
